Showing posts with label Tutorials. Show all posts

Sunday, June 29, 2014

Ruthie's Strawberry Dress

After having the fabric sitting there for ages, this afternoon I finally got round to doing something with it, and here's how it turned out!
I used the Bubble Dress Tutorial from sewadollable.com.
This dress turned out pretty cute, but it was quite frustrating to make! I used the bodice pattern from Melody's Birthday dress (see picture), and the sleeves from a t-shirt pattern, because I wanted it to have long sleeves.
So obviously I didn't have too much trouble with the bodice, given that it was a very simple pattern and I'd made it before, so apart from a few unwanted tucks when setting the sleeves in, it was pretty much fine.
The skirt was definitely the worst bit!

1. I forgot to add 1/4'' to my bodice measurement for the skirt lining, hence why I had to put velcro all down the back, because it was too tight around her bottom (the pictures will explain more).
2. The gathers were really annoying! I hate gathering, especially when I have to make it really poofy so the threads are really tight, and then all they break when you try to pull them out, and you have to pick at them for ages to make it even before you sew, etc.

Now for the photos:

Birthday dress. Notice the similarities?


The sleeves were actually meant to be set straight in, but I think the gathers worked well, no?

The cutest, pouffiest skirt ever!

Dodgy back closure :(
The funny velcro arrangement I came up with to make it work.


And all the time I was taking photos, the cat was looking at me like this.
Aka: What are you doing near my playground???
Me: Well, it is my house, in case you hadn't noticed.

I thought the lining would make the dress to tight for her to sit comfortably in, but I was wrong! She can actually sit quite nicely, provided that I remember to put undies on her next time (I was in such a rush to get the photos done that they aren't very good quality, and I had to get a funny angle for this one so that you couldn't tell that she'd forgotten her underwear!)
Overall, the dress turned out super cute, and I would definitely recommend you try out the tutorial yourself. Only, please don't make the same mistake on the skirt lining that I did! It was so annoying, and I wouldn't want it to happen to anyone else!


Thursday, February 20, 2014

Melody's New Dress!

Hi Girls!
I finally finished Melody's dress this morning, so here are the pictures I promised.


For the bodice pattern, I used the One shoulder dress tutorial, but used a her circle skirt tutorial for the skirt instead, but made it slightly longer. 

I'm quite happy with how it turned out, but believe me, it was a total nightmare to sew! Being the Avocado-Green lining silk that it was, it kept slipping all over the machine. But I must say, the results we totally worth it!

Anyway, hope you liked it! It's Melody's new favourite, and she doesn't want to take it off!

Next projects are: A matching jacket for this dress, a smock-style winter play dress, a bubble dress and another pair of leggings. All coming soon, with tutorial/pattern/book links and photos!

Love,


Friday, January 17, 2014

Doll Hairstyling Series 2: how to give your doll a basic ponytail!

Hi girls!
Today I'm going to show you how to do a basic ponytail on your doll.

You will need:
One hairband
Doll brush (wire bristles)
And any embellishments you would like to add (ribbons, clips etc)

Start by placing your doll firmly between your knees, just underneath her armpits (don't worry, this won't hurt her a bit!)

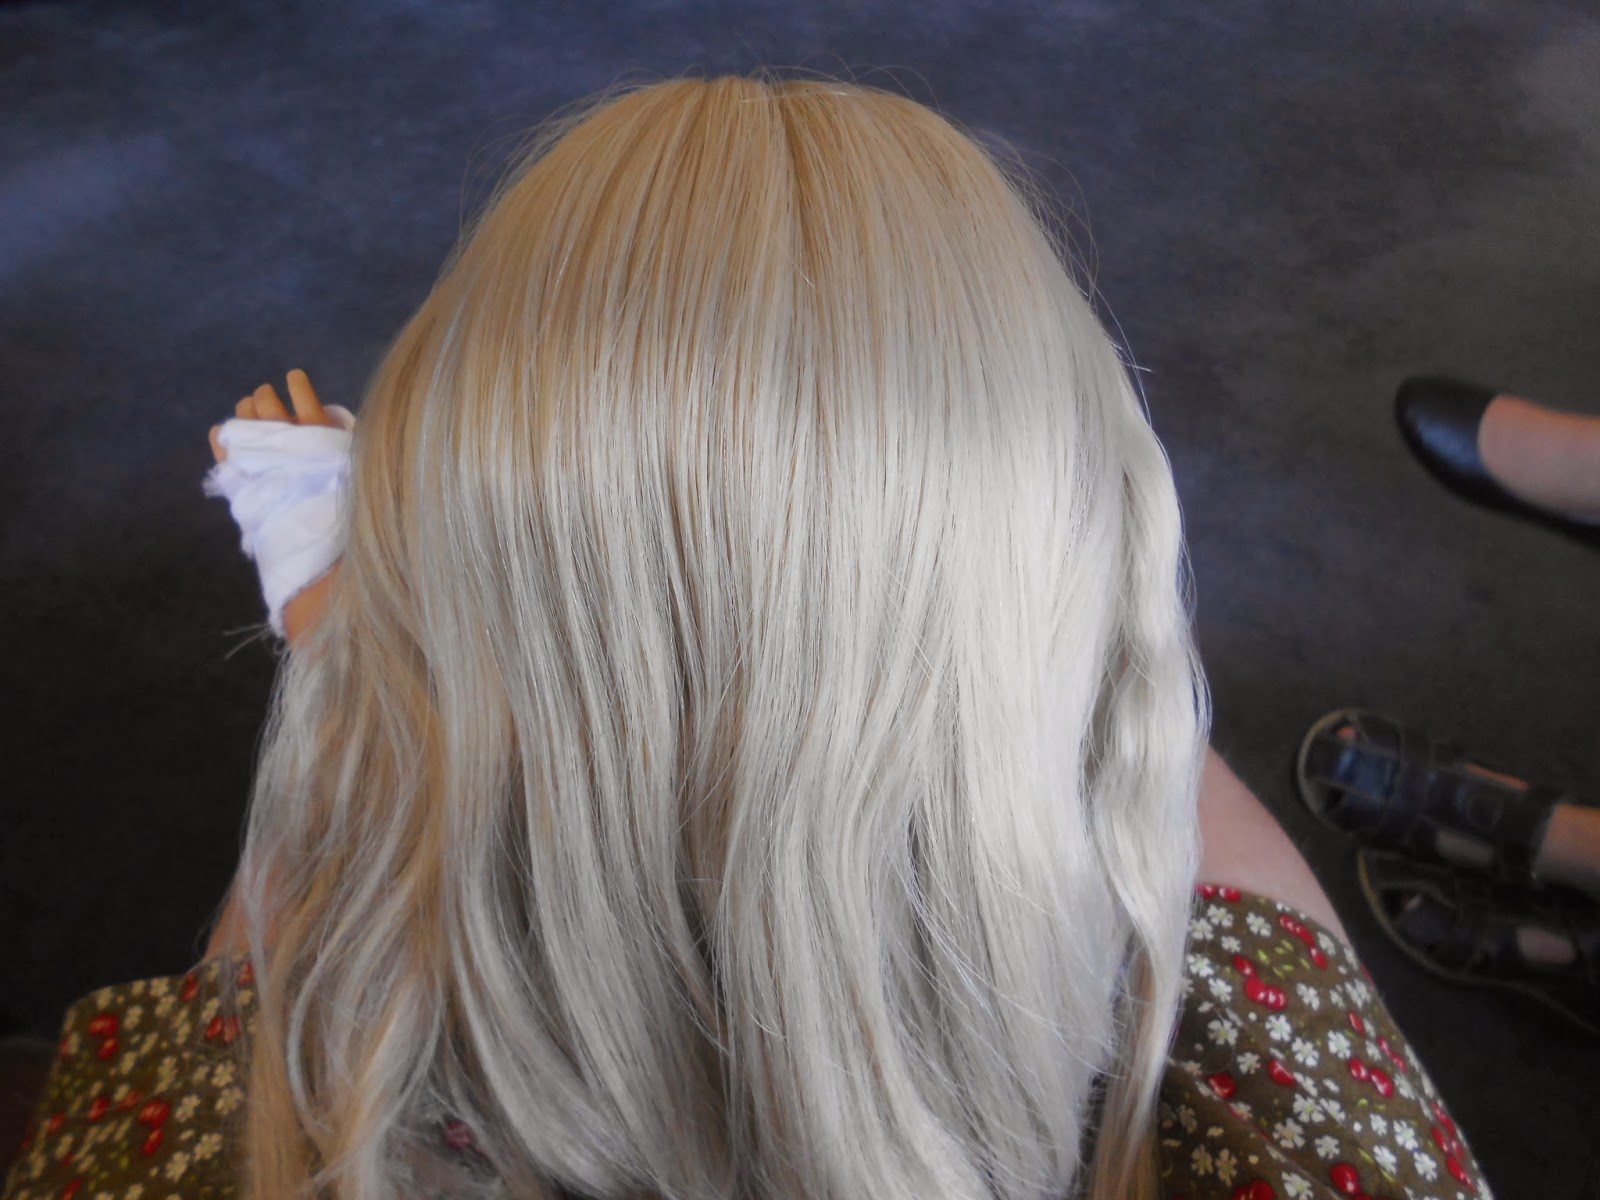
Brush her hair, starting at the bottom, and working your way up to the roots to ease any knots out.

Gather her hair in your hand into a ponytail.


Secure it with a hairband

and add your embellishments.

And you are finished! Enjoy your ponytail!


Doll Hairdressing series 1: How to give your doll a braided ponytail!

Hi girls!
Here's my very first hairstyling tutorial for you! It's Melody's very favourite hairstyle, she wears it pretty much all the time. I think it really suits her! I'll be doing a few more hairstyling tutorials soon, please let me know if you like this one!
Start by getting your doll, and clamping her body (just under her armpits) between your knees so as to keep her head nice and tight.

Then, starting at the bottom, brush your doll's hair, gently working the knots out until you reach the top,

like this.

After a bit of brushing, her hair should now be smooth and easy to work with.

Now, take a small bit of hair from just above her ear.

Brush it smooth so it lies nice back against her head, like this.

Then divide that bit of hair into three approximately equal parts.

Cross the right part over into the middle

Then the left

Then the other one. Repeat until you have a nice long braid,

like this.

Then secure the end with a crocodile clip.

Repeat for the other side,

Secure them both with a hairband, then

flip them over her face so they're out the way while you work on the ponytail.


Brush her hair, so it's nice and neat again

then use your hand to gather and brush it into a low ponytail over her neck.

Flip the braids back over the top.

Take off the hairband and hold the braids in place

Get another hairband to secure it all together, then brush the ponytail until it looks nice and neat.

Like this

You can add a ribbon or something if you like.


Hope you enjoyed reading my first tutorial!